Your Design Journey Begins
The design process begins early in your build journey. Approximately four months before your foundation is poured, a Turner Homes designer will contact you to schedule your design appointment.
This appointment, which lasts approximately three hours, will be held at a design center located in one of our model homes.
You’ll have plenty of time to explore selections in person with guidance from one of our expert designers.
Your Big Design Day
At your appointment, you’ll work with a designer to choose all your interior and exterior finishes. Because there are many options to consider, we recommend limiting attendees to just those listed on the contract.
Too many opinions can be overwhelming and make it difficult to cover all the categories in the allotted time. We also request that children do not attend to ensure their safety and maintain focus on the selection process.

Inspiration Starts Here
Your designer will begin by learning about your aesthetic and lifestyle. You’ll discuss topics like your family structure, home priorities, and budget. Here are some tips to help you prepare:
- Define your style: Are you drawn to timeless or trendy? Knowing your unique style helps us guide you through the right options.
- Gather inspiration: Browse magazines, Pinterest, and mood boards to find colors, textures, and styles you like. Feel free to bring any samples or photos to your appointment.
- Set a budget: Have a price range in mind for potential upgrades. We’ll review pricing during the meeting to help you stay within your desired budget.

Tools to Inspire You
To familiarize yourself with available options, explore the following resources:
Interactive design tool: Available on our website, this tool lets you select your plan and community, explore upgrades, and generate a rendering of your customized home.
Note: Available options vary by community and lot size.
Selections booklet: Review the standard finishes included in the base price of your home. This helps you decide where you may want to invest in an upgrade vs. going with one of our standard selections.
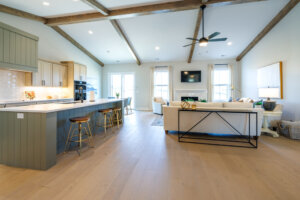
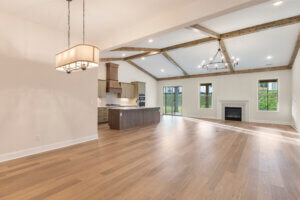
Photo galleries and video fly-throughs: Browse finished homes and design examples on our website to find inspiration for your home.
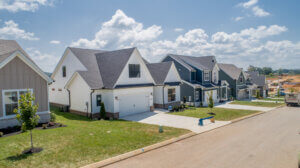
Community tours: Drive through your community and note exterior features you like. Take pictures of siding, brick, windows, and more for reference.
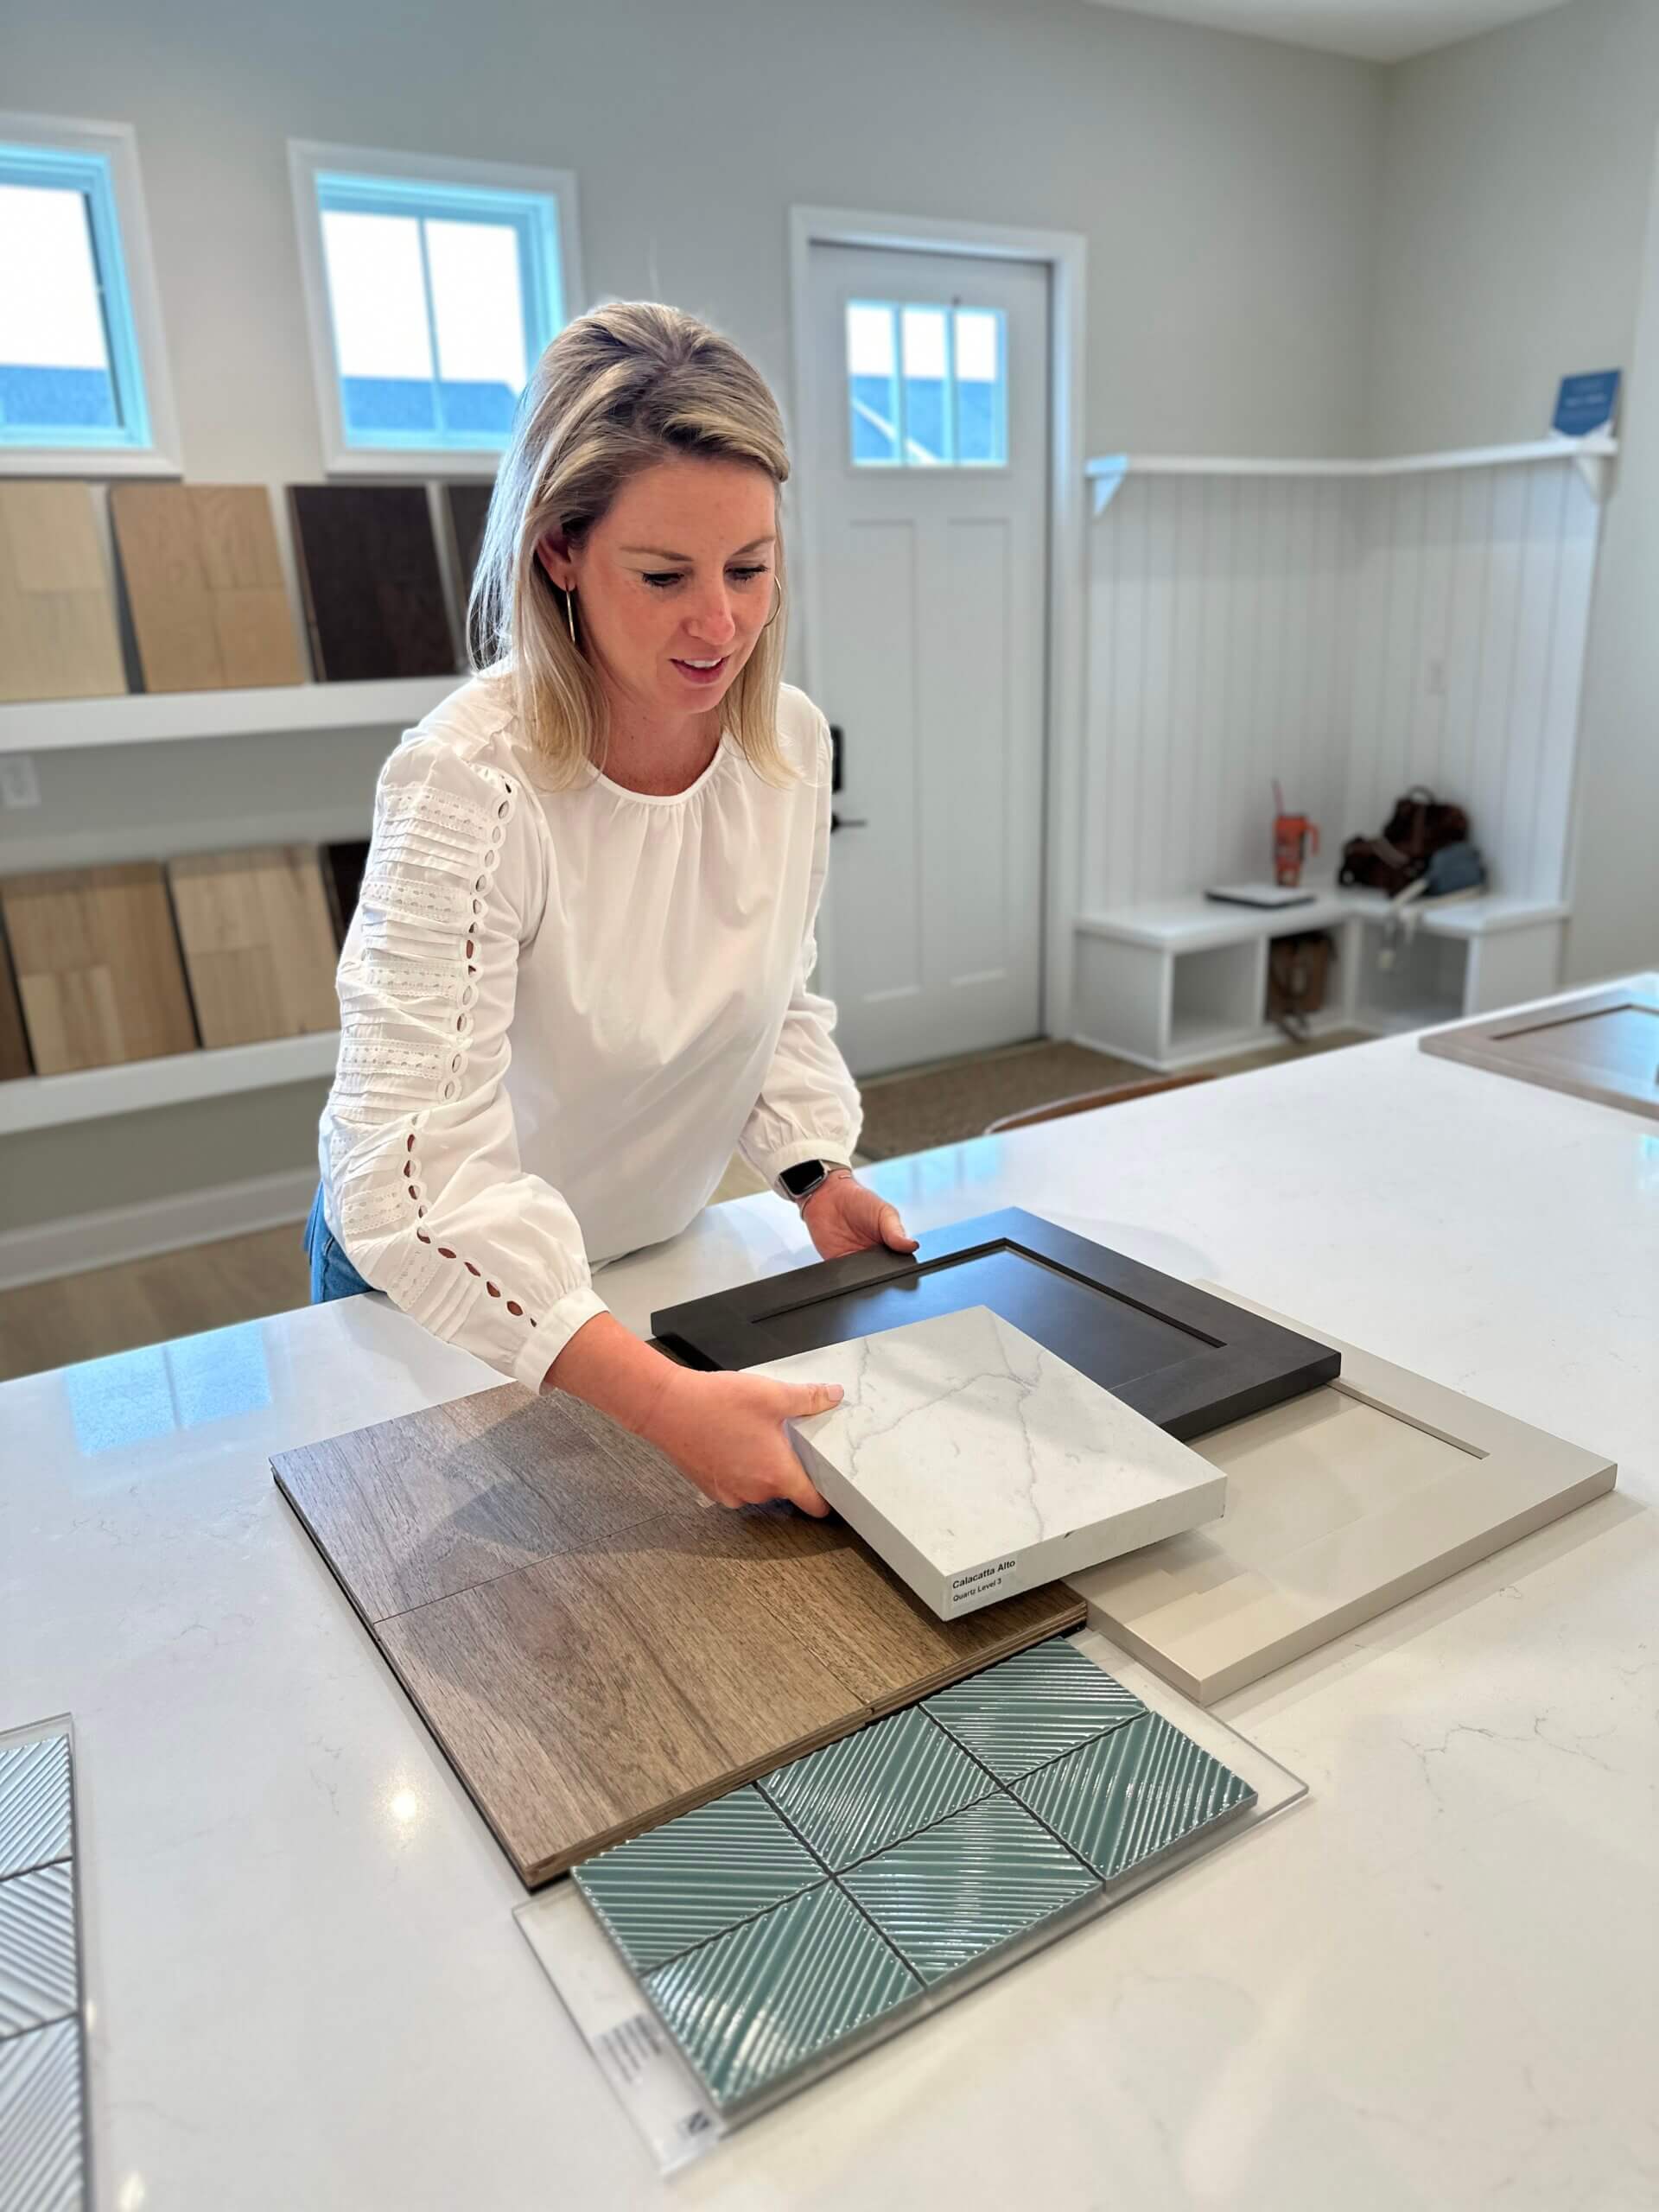
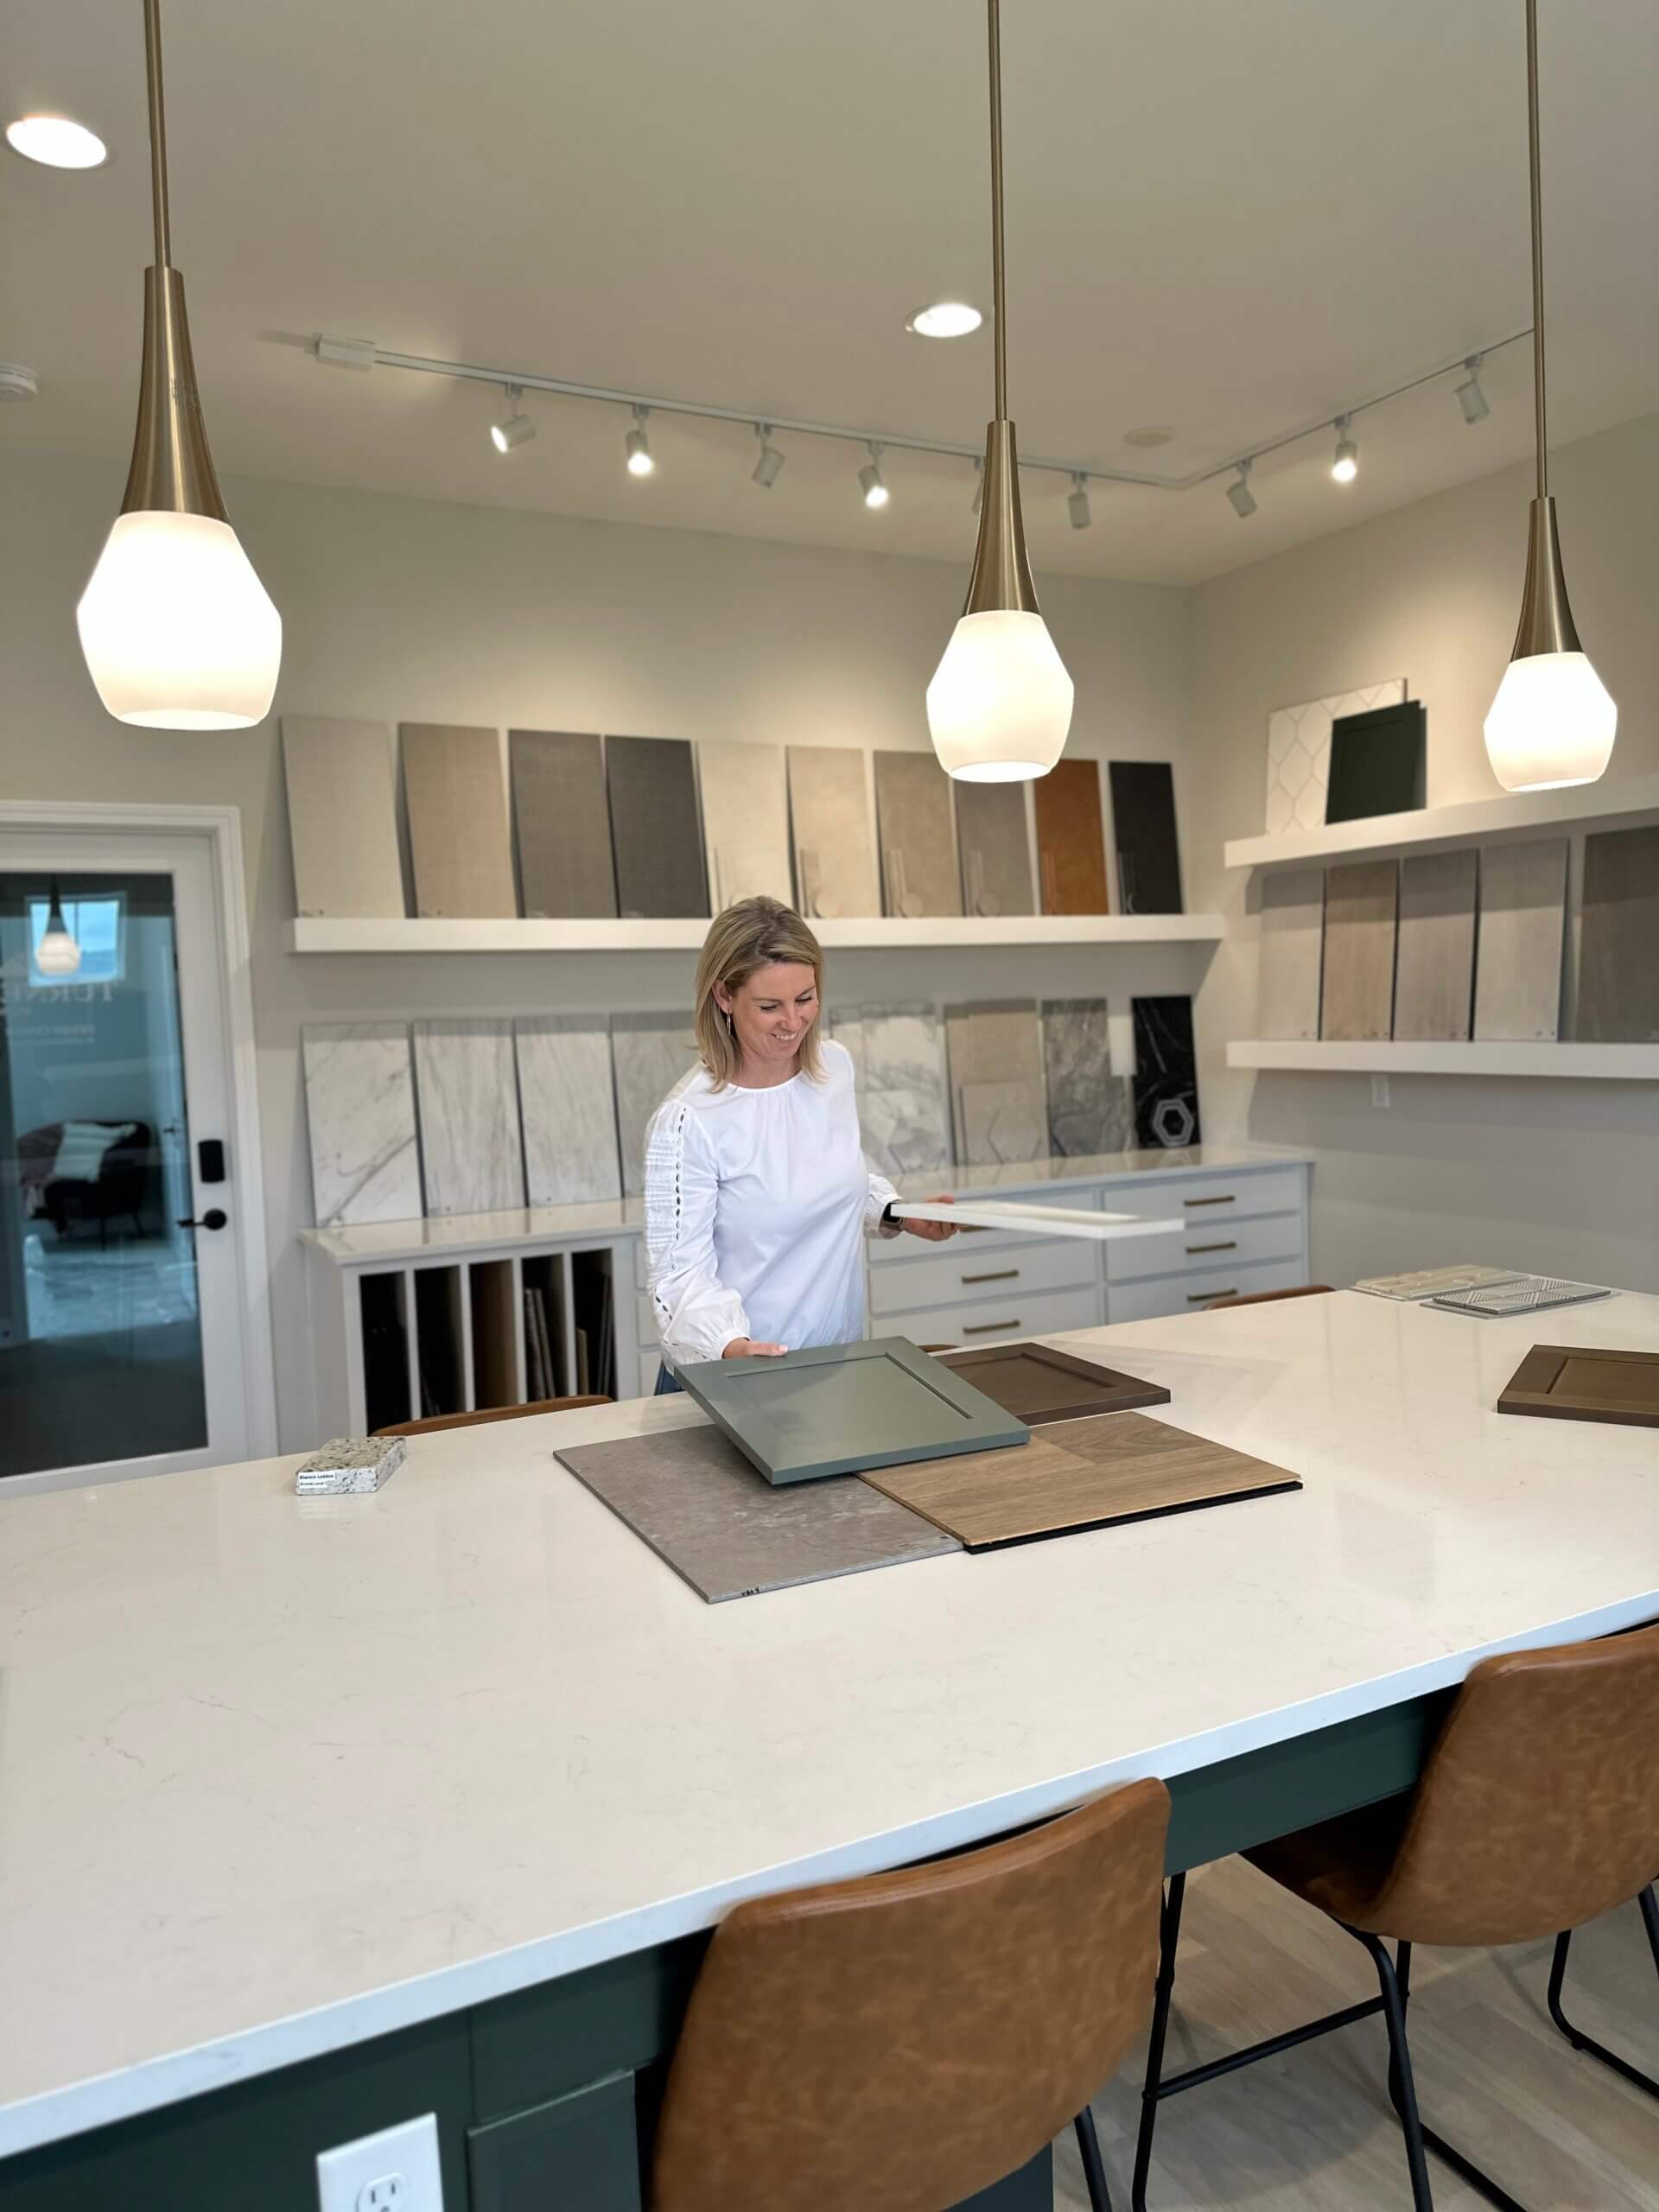
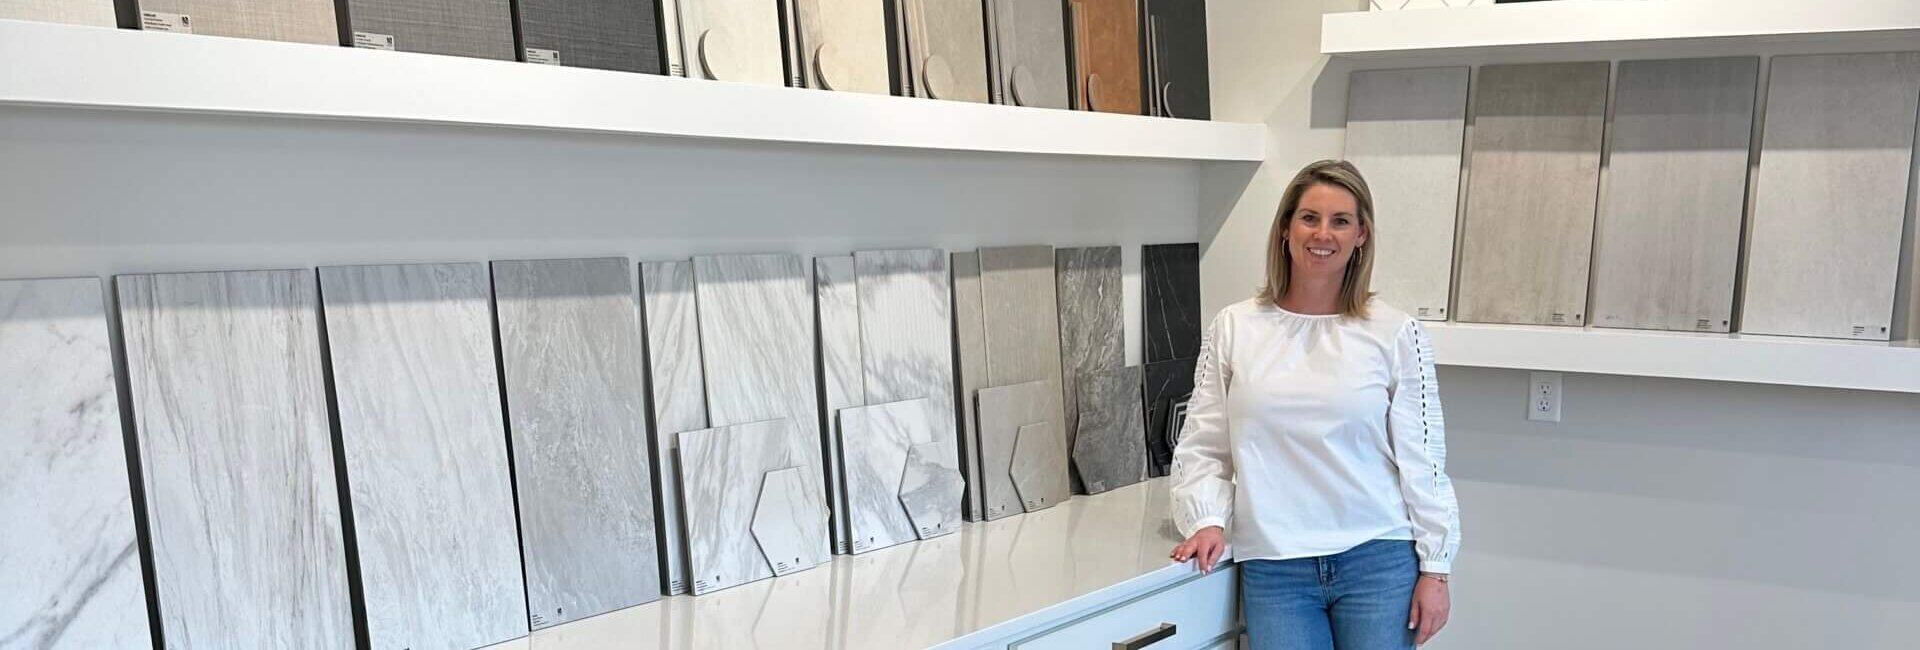
Turner Homes designer Kandace Krebs arranges samples in one of our design centers
Structural Upgrades
You’ll start your appointment by selecting structural upgrades. These must be finalized early, as they impact the construction timeline.
Below are some of the common structural upgrades:
- Covered Patio or Extended Covered Patio
- Garage Bump-Out
- Third Car Garage
- Spray foam insulation
Note: Upgrade availability varies by lot and community.
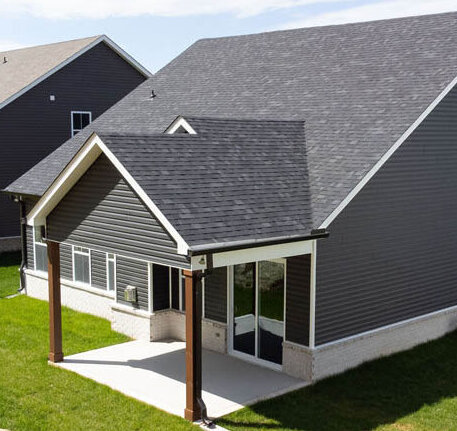
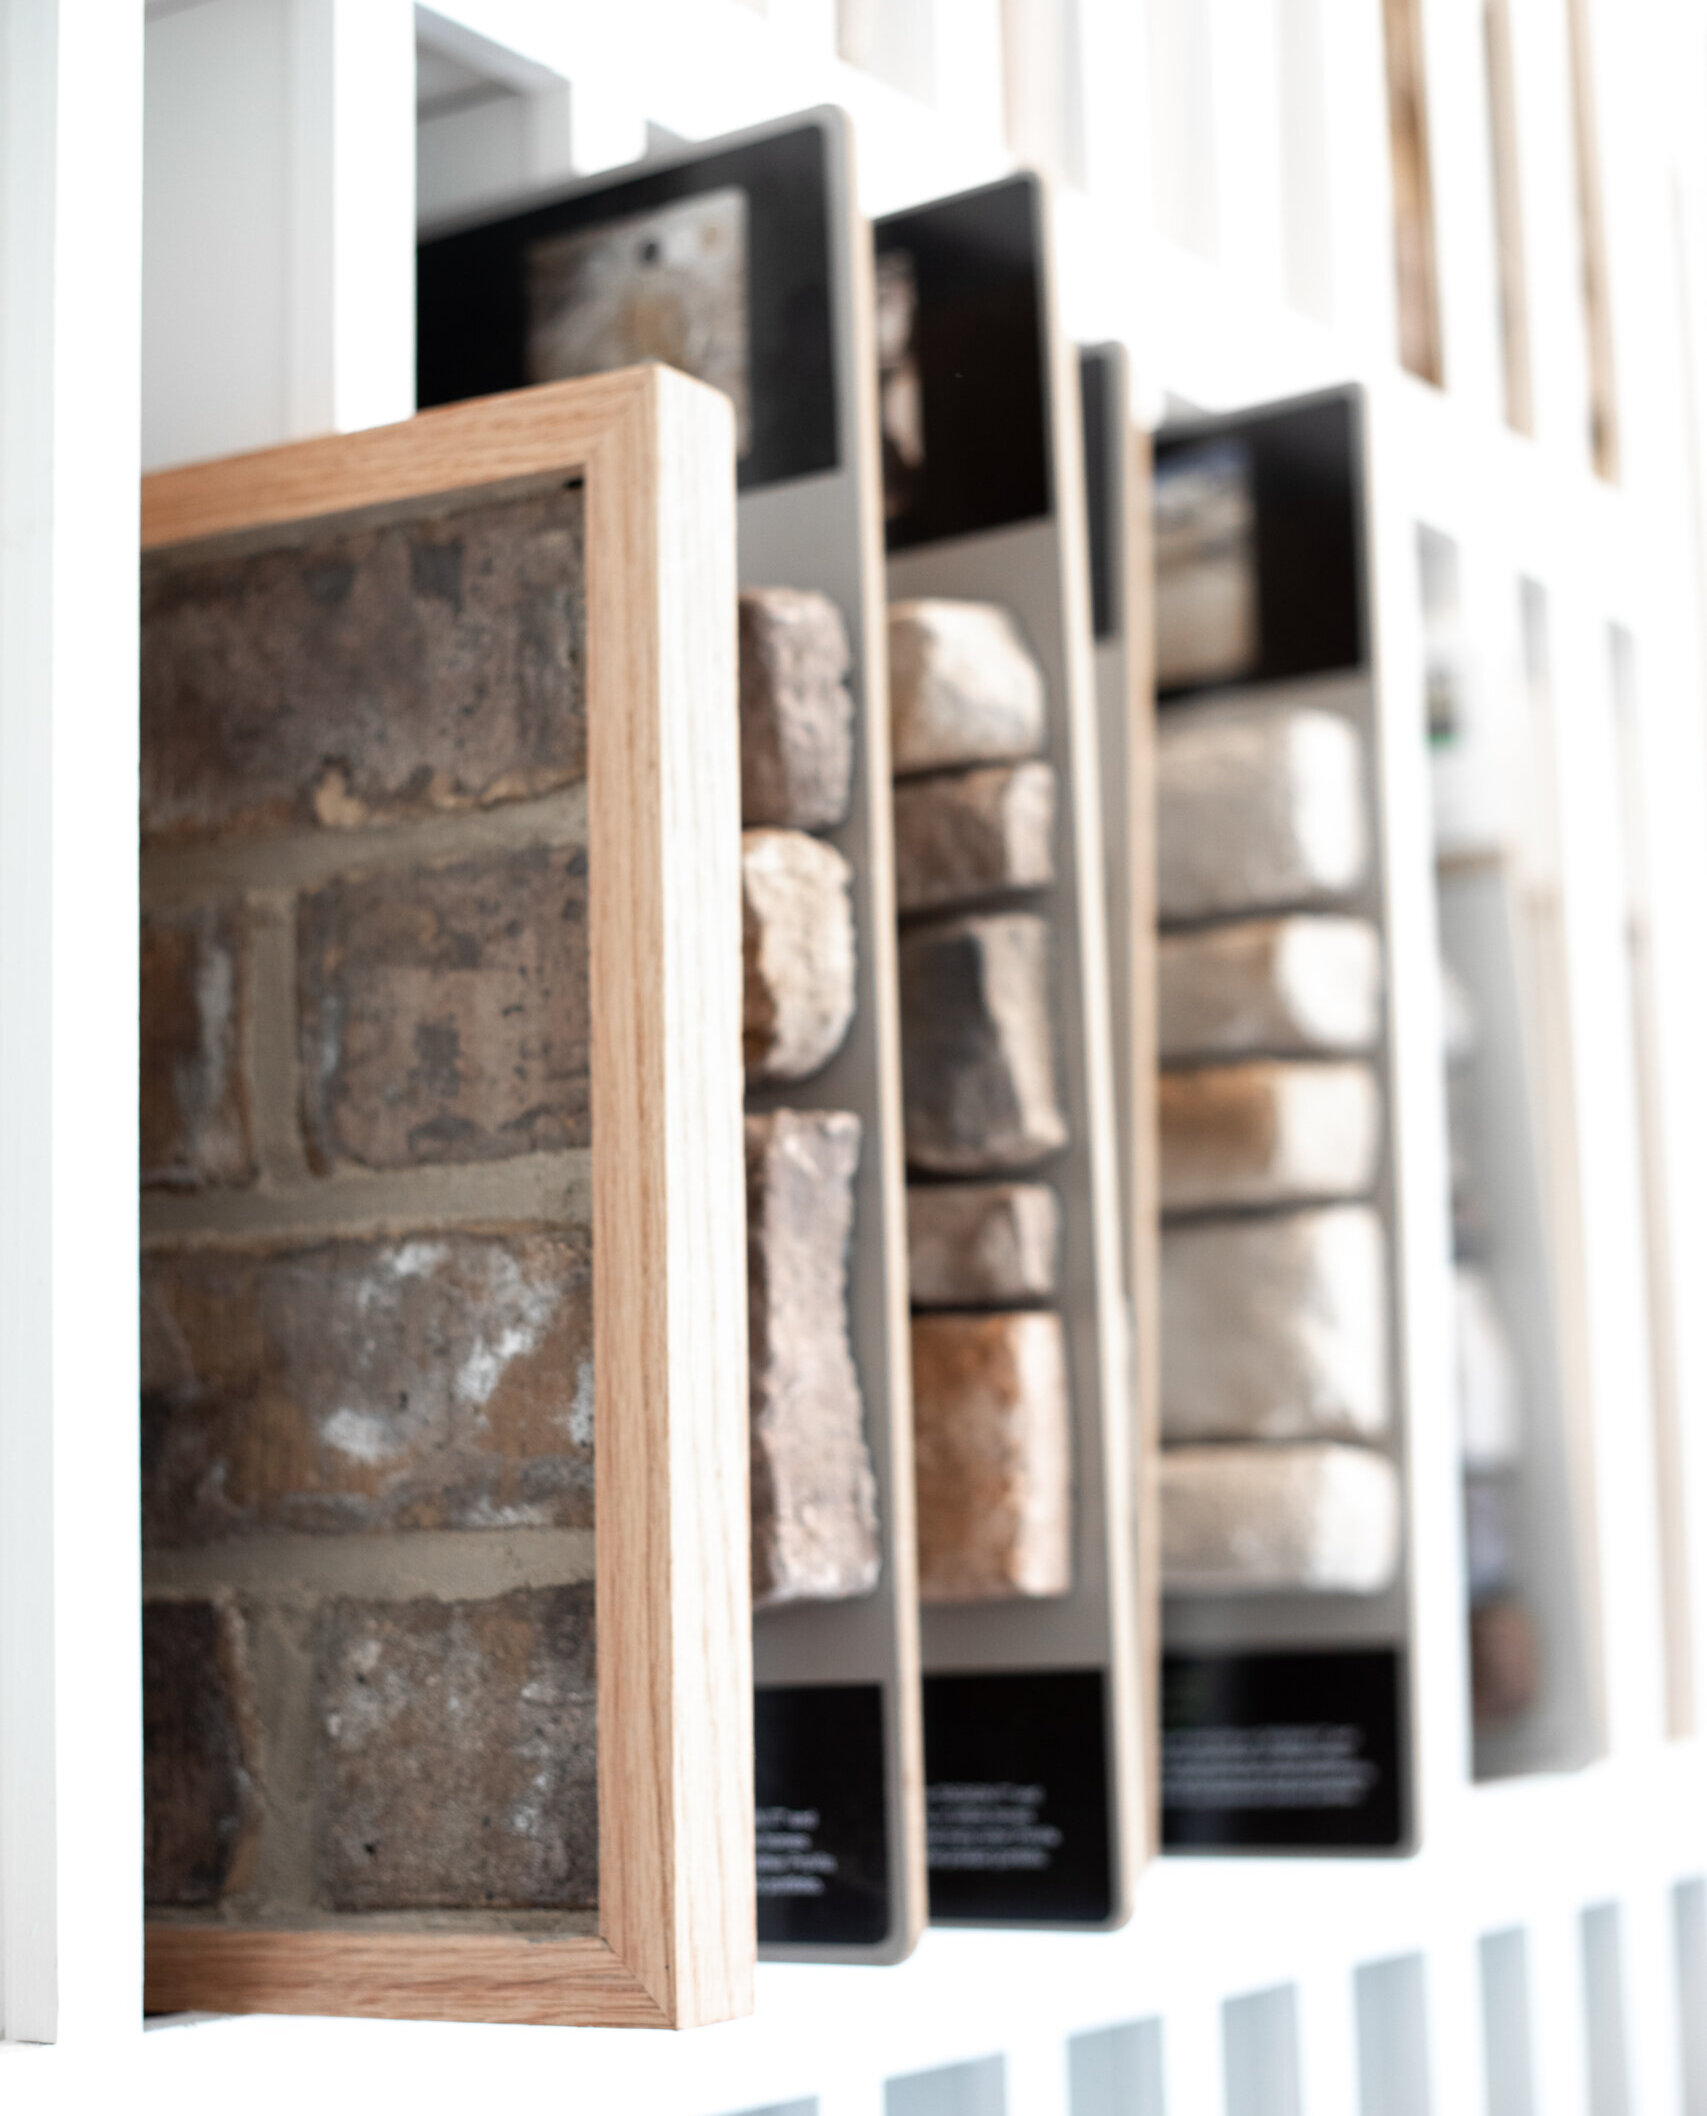
Exterior & Interior Finishes
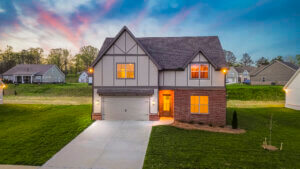
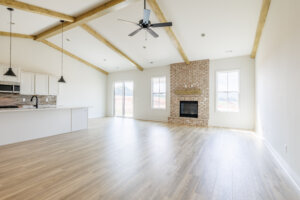
Next, you’ll choose exterior finishes like siding, windows, a front door, and shingles. You’ll compare physical samples to see colors and textures up close, and use our interactive design tool to visualize your selections. Dreaming of a seagrass-colored home with black windows and stone accents? You’ll be able to see exactly how it will look before it’s built.
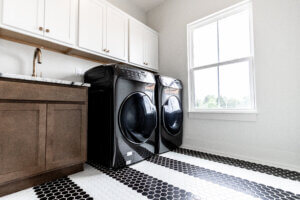
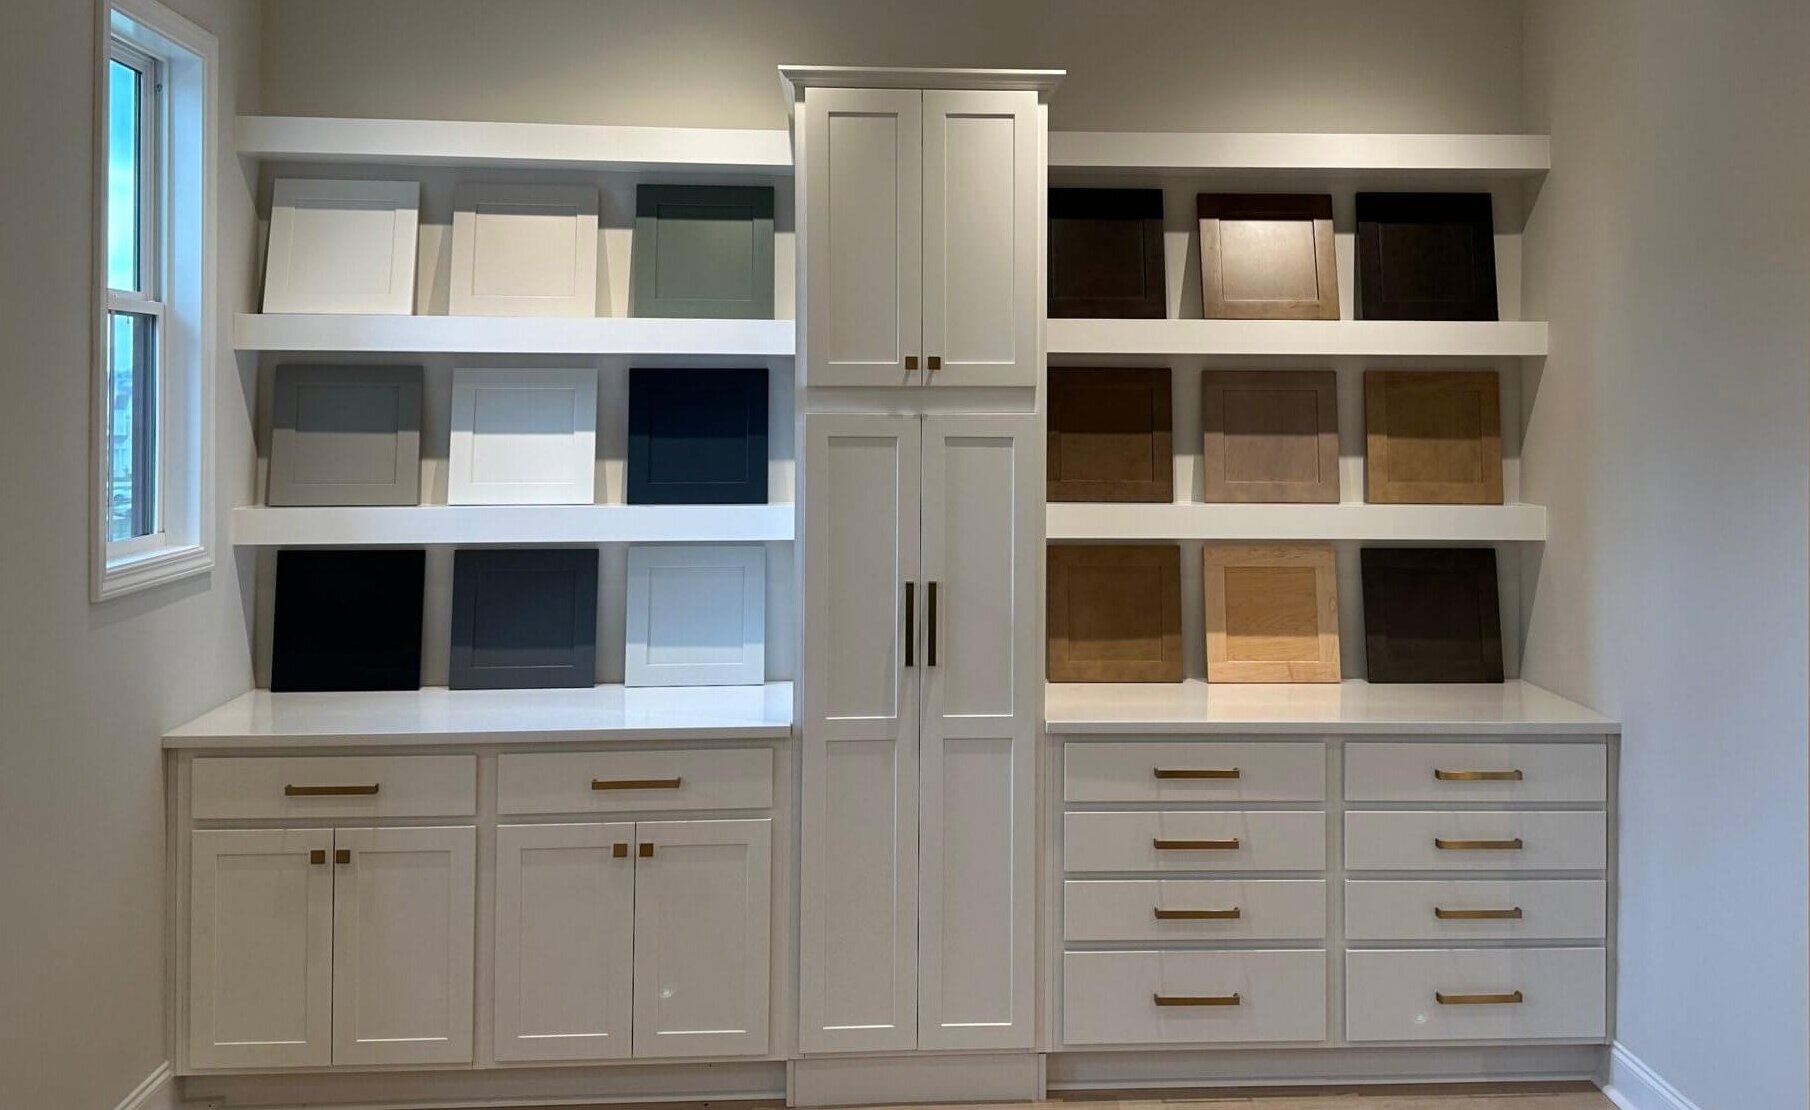
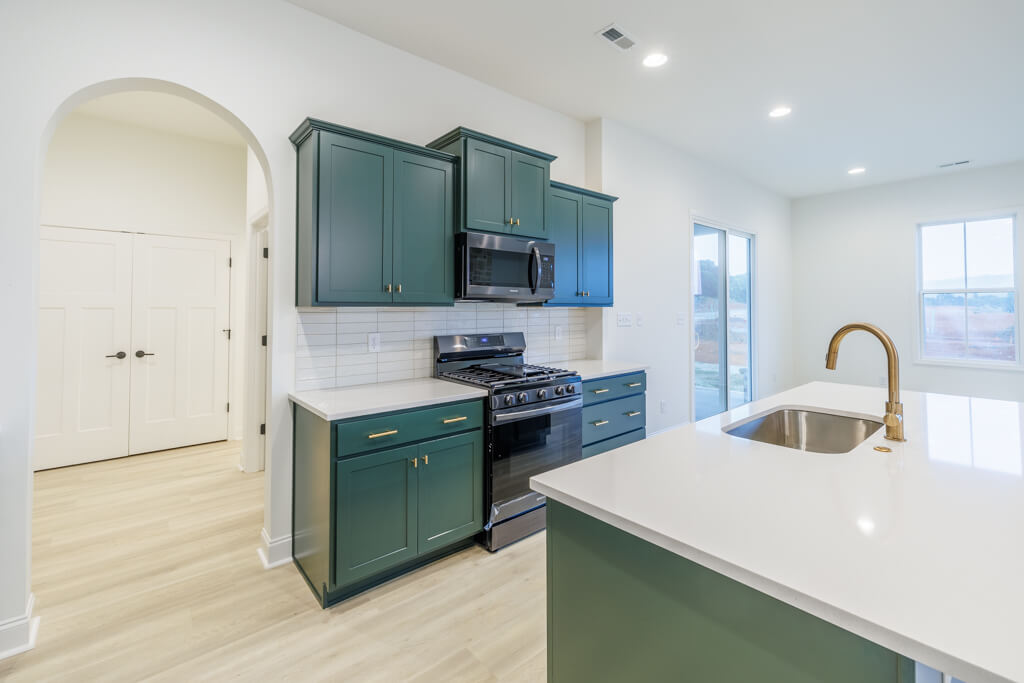
Your designer will then guide you through your interior selections – showing photos, samples, and upgrade prices. Here are some examples of the choices you’ll make:
- Door style, height, and trim
- Flooring (eg., hard-surface, tile, carpet)
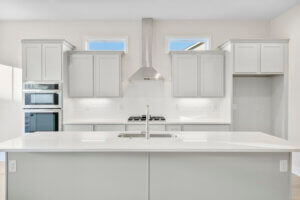
- Kitchen finishes (eg., backsplash, cabinets, countertops, faucet) and available upgrades (eg., gas appliances, double-stack kitchen oven/microwave, hood vent)
- Bathroom finishes (primary and auxiliary baths)
- Living room features and available upgrades (eg., fireplace, hardwood stair treads)
- Lighting and electrical options
Note: Selection and upgrade availability vary by community.
Working With Your Budget
At Turner, we specialize in helping you design the home you want while staying within your budget—focusing on the features that matter most to you. The good news? Every Turner home includes on-trend, high-quality features as a standard, so you’re starting from a great foundation.
If there are areas where you’d like to personalize or upgrade, we offer a wide selection of options to suit your style and priorities. All upgrade prices are clearly listed to help you make confident, informed decisions along the way.
Upgrades that Add Value
We can also help you decide which upgrades are most cost-effective to include during the build. For instance, if you’re considering hardwood stair treads, it may save money to install them during construction instead of after the build. Spray foam insulation is another smart investment as it improves energy efficiency and lowers utility costs over time.
If you’re thinking about an upgrade, we recommend listing it in your selections—it’s usually easier to remove items than to add them back in. Once you see the total cost, you can adjust based on your budget.

Final Touches & Follow Up
Once your selections are complete, you can take photos of your choices for reference. After your appointment, here are the next steps:
- You’ll receive a summary sheet listing all selections, images, and upgrade prices.
- You’ll review and either approve or request revisions.
- Your sales agent will send a final copy for your signature.
- You’ll send a deposit for any upgrades by mail or drop-off (deposit must be received within 7 days of signature).
We know it can feel like a lot of decisions—but you’re not alone! Our experienced design team is here to guide you, ensuring your home is thoughtfully designed, personalized, and distinct from others in your community.
No matter your budget or style preferences, we’ll help you create a home you’ll truly love. If you have any questions along the way, don’t hesitate to contact us—we’re here to help.